This post may contain affiliate links and I may earn a small commission when you click on the links at no additional cost to you. As an amazon affiliate, I earn from qualifying purchases. You can read my full disclaimer HERE.

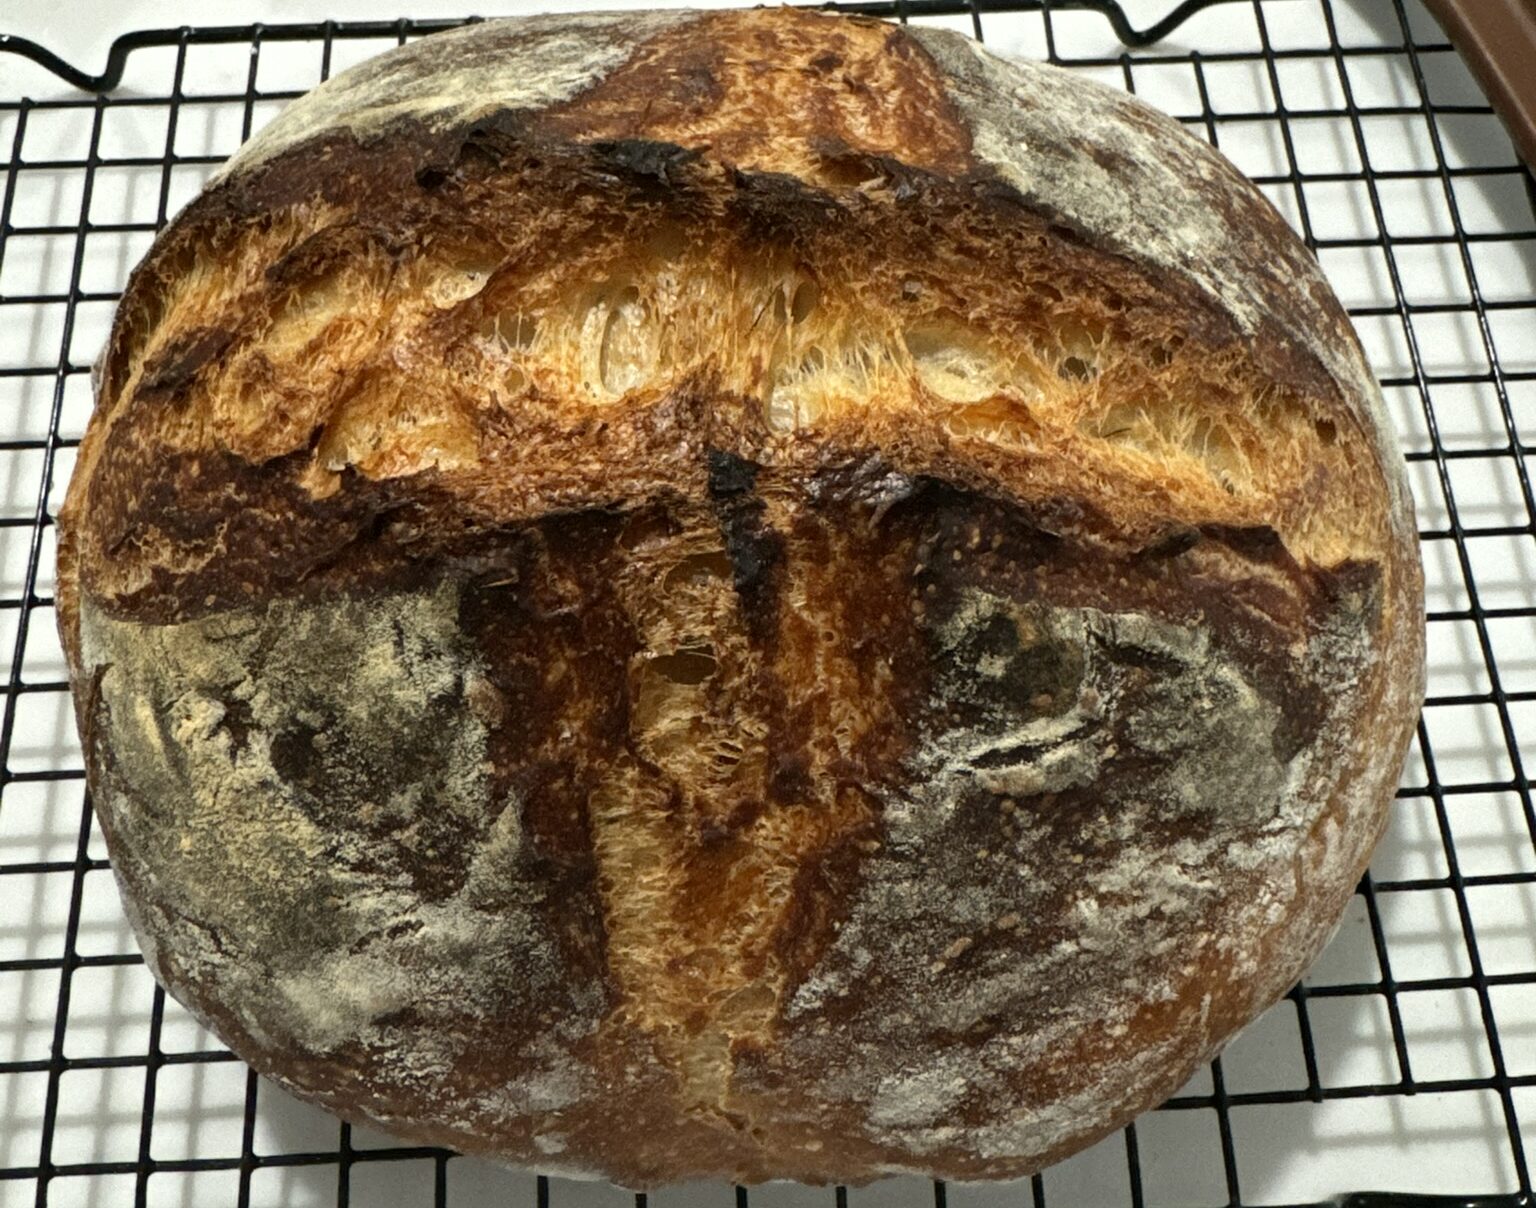
Marissa’s Sourdough Bread
Ingredients
- 150 g active starter see notes
- 350 g luke warm water
- 10 g salt
- 10 g honey
- 1 tsp instant yeast
- 500 g bread flour
Instructions
- In a large bowl add starter, water, salt, honey, and yeast. Mix until frothy.
- Add 250g of flour, and mix till combined, then add the remaining 250g of flour.
- Cover with a towel, plastic wrap, or lid and let rise for one hour.
- Stretch and fold 1: From the back of the dough (the furthest away) lightly pull up to stretch the dough without tearing and fold it towards you. Then quarter-turn the bowl and repeat fold again. (repeat this step 2 more times: 4 bowl turns, 4 folds. Let rest another hour.
- Stretch and fold 2: This is where you would add any inclusions. Repeat above. Let rest another hour
- Stretch and slap 3: from the center of the dough, lightly pull from the center with both hands so the dough hangs distributed evenly on both sides. Once it hangs a bit drop it back into the bowl (aka slap) then quarter turn and repeat a total of 4 times. Let rest another hour.*At this point place the oven on warm setting (about 175℉) so it is prepared for the final rise*
- On a floured surface, stretch the bread into a rectangle (like a square pizza) and start to fold. One fold from the top to centerOne fold form bottom to center (should be log shaped)Turn the log to face you vertically and roll it inwards (not tightly)Then start to pat sides and form into a ball.
- Turn off the warm setting oven and place the dough on a floured paper towel in a bowl, or a floured banneton if you have one and let it do its final rise for another hour. (at this point you can also leave the dough in the fridge, covered, for 1-72hr, I noticed it was easier to cut through after refrigerated)
- Using a sharp knife or blade form seam and let sit for 15-30 minutes, covered. Meanwhile preheat oven to 450 degrees with the dutch oven inside.
- Place the loaf onto parchment paper and place into the dutch oven with the lid on
- Bake covered for 25 minutes then remove lid and bake additional 25-30 minutes.
Video
Cooking With Friends Episode 1: Sourdough Bread with Marissa
Sour-Hoe
Hehe, that one made me giggle. Focus, Al. Okay, so if you are anything like me, Sourdough is intimidating AF. There are so many rules and measurements. And if I am being TOTALLY transparent and totally honest, I am still finding my groove with the starter situation. I had a little issue the other day with it rising, but luckily I have access to my friend Marissa who is a quick responding bread saint! Speaking of Bread Saint:
New Series Cooking with Friends
So, my bread saint, Marissa (IG @marisssa.rose) has been the very lucky (or maybe unlucky lol) first guest on my new series “Cooking with Friends.” In which, I ask friends to contribute to this blog by providing a recipe. Then we film said recipe as I learn to cook their specialty or their favorite meal. It gives me a chance to learn something new, spend time with friends, create content, laugh and above all – eat.
Marissa and I have never actually hung out together one-to-one as she was my cousins friend from Virginia. As luck would have it, she now lives in NYC (which she has been made into a viral video from calling it work island) and we follow each other on socials. She was one of the first people who said I needed to show more of me on my cooking videos, which led to my delulu cooking show, so I gotta give her thanks. Then, on one random day, I went on a deep dive on her page because I saw she was making fancy bread and I needed a fix!
I told her I wanted to learn, she said she would teach me and I said well this works out great for one of my ideas and she replied HELL FRIGGIN YEAH! She was so supportive, kind, and willing so we set a date and made it happen. When I tell you, we spent the entire day together, I kind of felt like I kidnapped and trapped her here lol! My espresso moka pot bursted – twice. The meal I made for her fell apart. My house was cold. I forgot my dog at the groomers. She had to help me walk the dog. She read my tarot in which recommended that I need to drop my boyfriend like a hot potato. But she stuck it out. ETERNALLY GRATEFUL.
Back to the Dough
Ok, I digress – if you have ever read my blog or know me, then this is a given, I’m a rambler. So, the starter is a bit complex, if you have a friend that has one, ask them to share (which is what I did) or you can easily purchase it online. If you want to make it yourself, I have a lovely little chart I can share with you, just send me a dm on instagram (@onerecipeatatime) with the word starter and I will send it along the way! I think that this recipe has two complicated steps, but with trail and error, according to the bread saint, you will be a sourdough hoe in no time.
The first thing I find a smidge complicated is the starter process. I think that overtime you become more intuitive with it, but since I am still fairly new at it, it challenges me a bit. Sometimes it rises, sometimes it doesn’t. At times the measurement in grams gets confusing. Sometimes the house is too cold, other times too hot. So again, practice and intuition play a little role.
The second minute difficulty is the time. If you think you are just gonna wham bam bippity boppity boo bread – you ain’t! It needs time to hydrate (I think thats the word she used). It needs time to develop, yeah that sounds more accurate. The gluten is being developed. Getting warmer. Something is happening to the structure with each slap or stretch. Its gotta be science, which I am not good at so please do not look to me for instruction on this point. Get yourself a bread saint – or just DM mine, she’s a sweetheart and she will answer all your Sour D’s questions.
That’s all I got for you guys tonight. I hope you enjoy the Cooking with Friends. I hope your bread journey is as exciting as mine has been.